Introduction
Hosted Payment Pages are forms, similar to online shopping carts, that allow a merchant to accept payments using any of the following methods. However, unlike shopping carts, there is no third-party service or integration required.
- Sharing a web link via email, text, or other delivery method.
- Incorporating an HTML button into an existing web page.
- Integrating the Hosted Payment Page form into the code of their website.
NOTE: Due to the length and complexity of this article, it has been laid out in multiple sections to make it easier to navigate.
Getting Started
- Click the link to open the Location where you want to create a Hosted Payments Page.

- Click Settings.

- Select Hosted Payment Pages in the drop-down menu.

- Any existing Hosted Payment Pages will appear here.

- Click the Create Hosted Payment Page button to create a new Page.

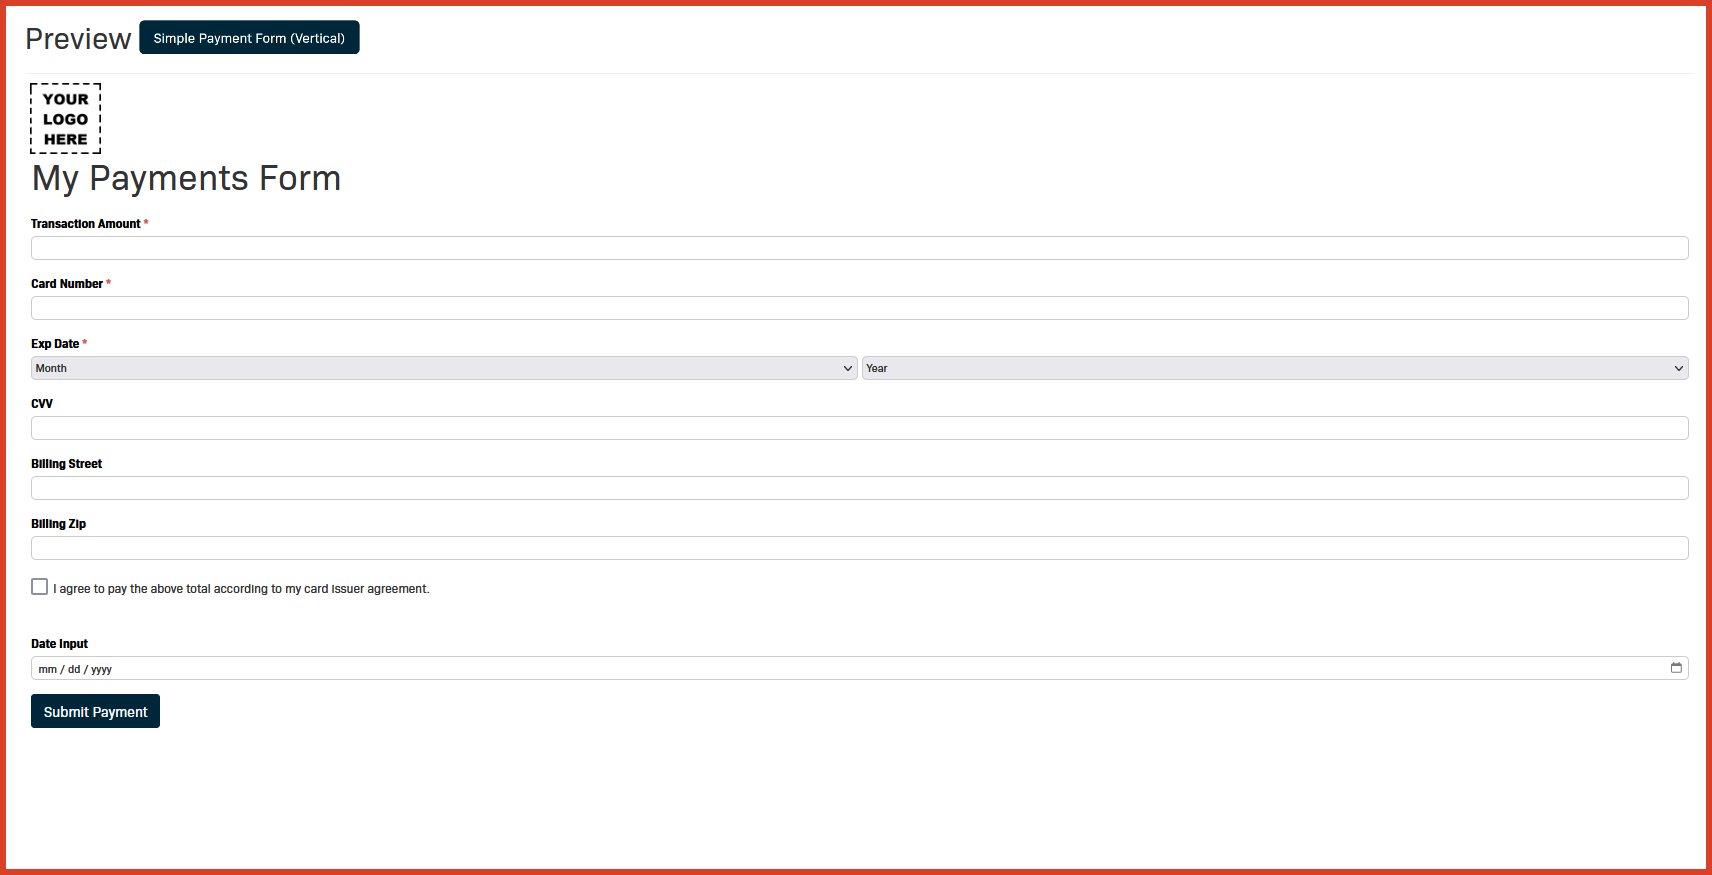
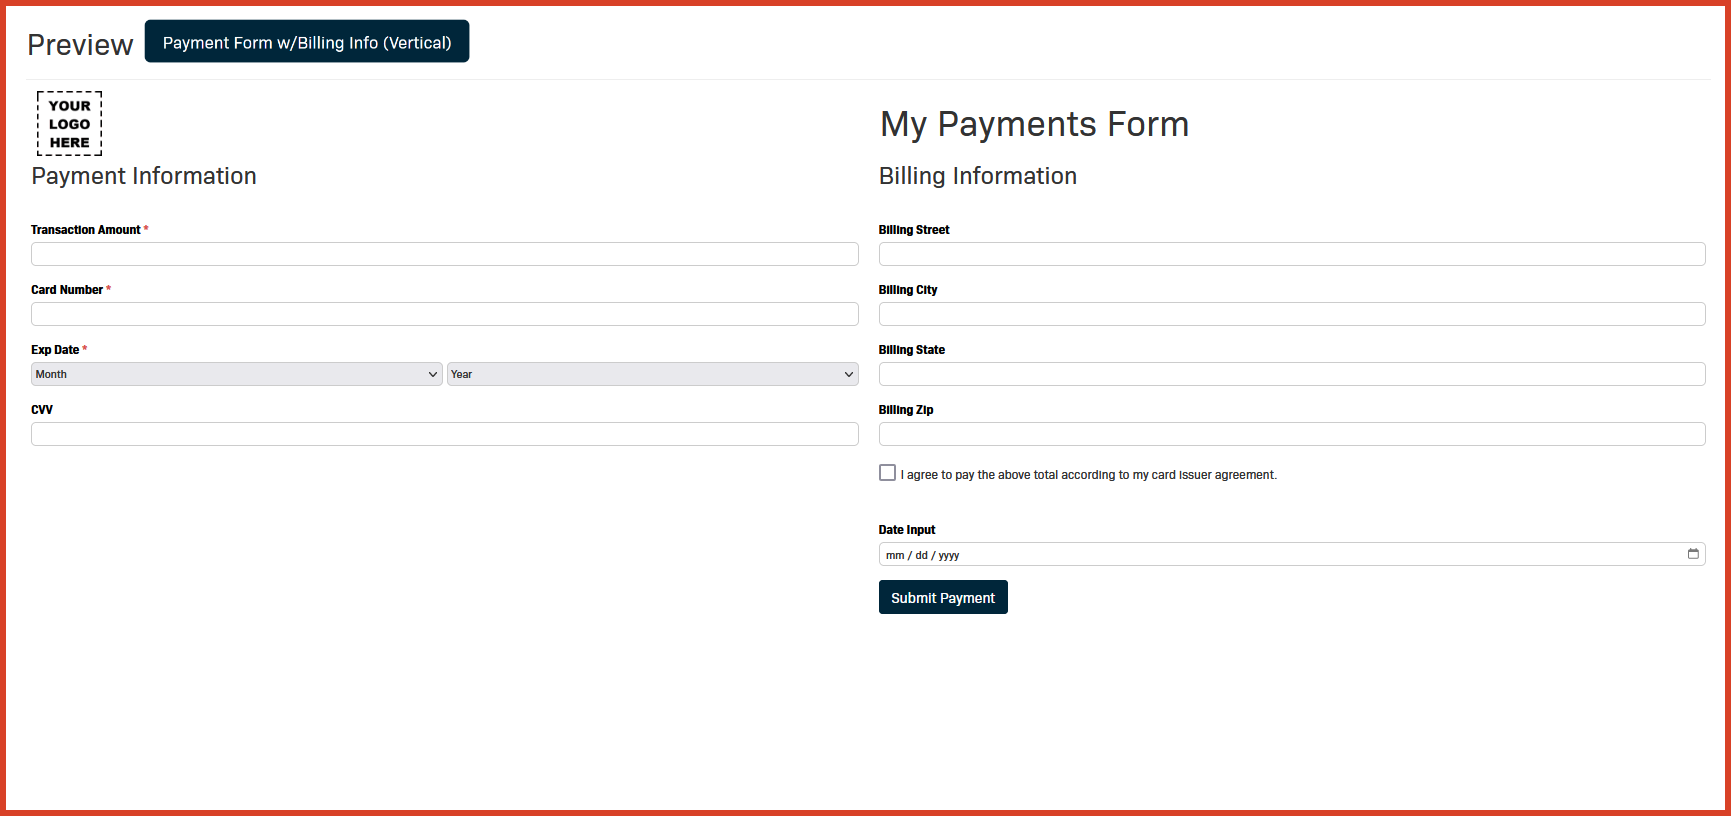
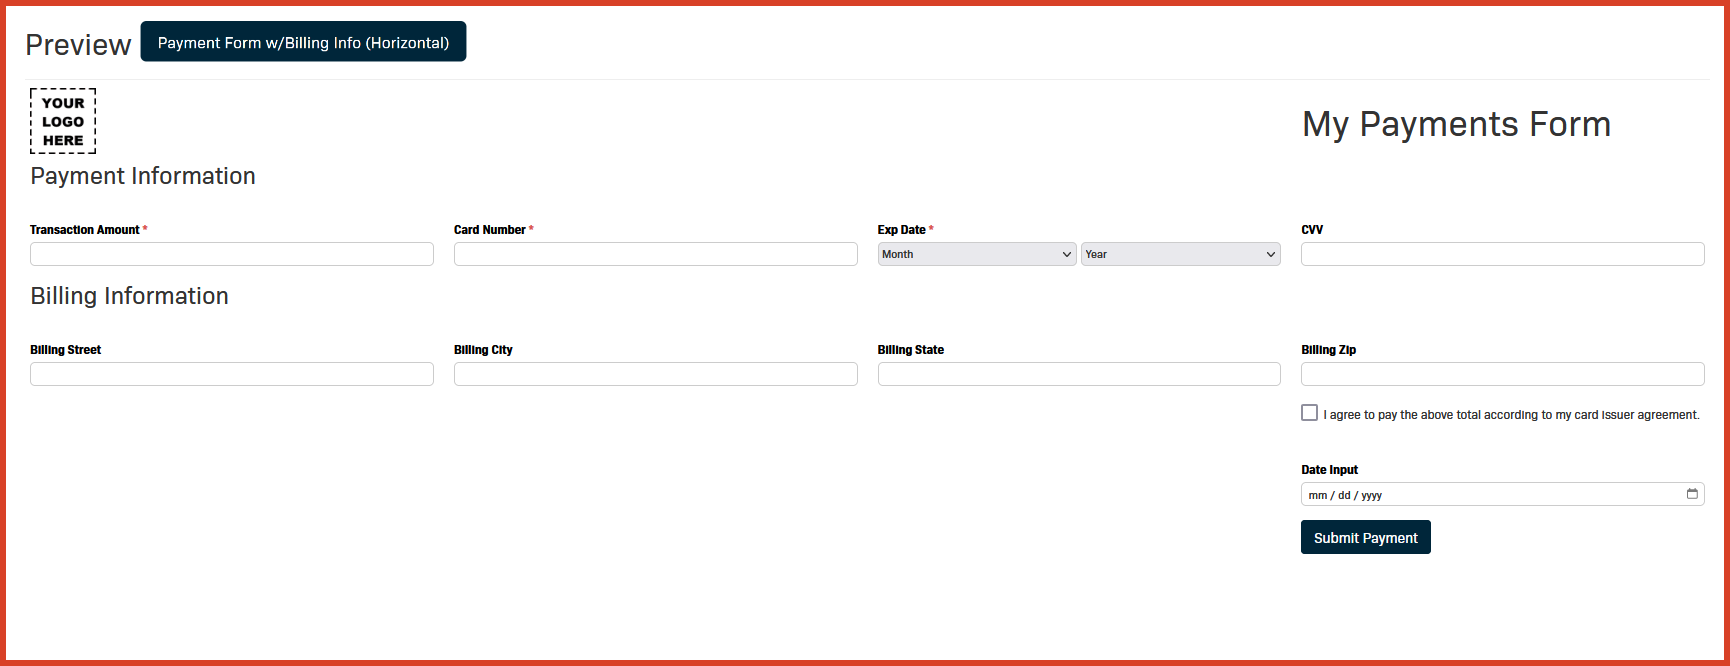
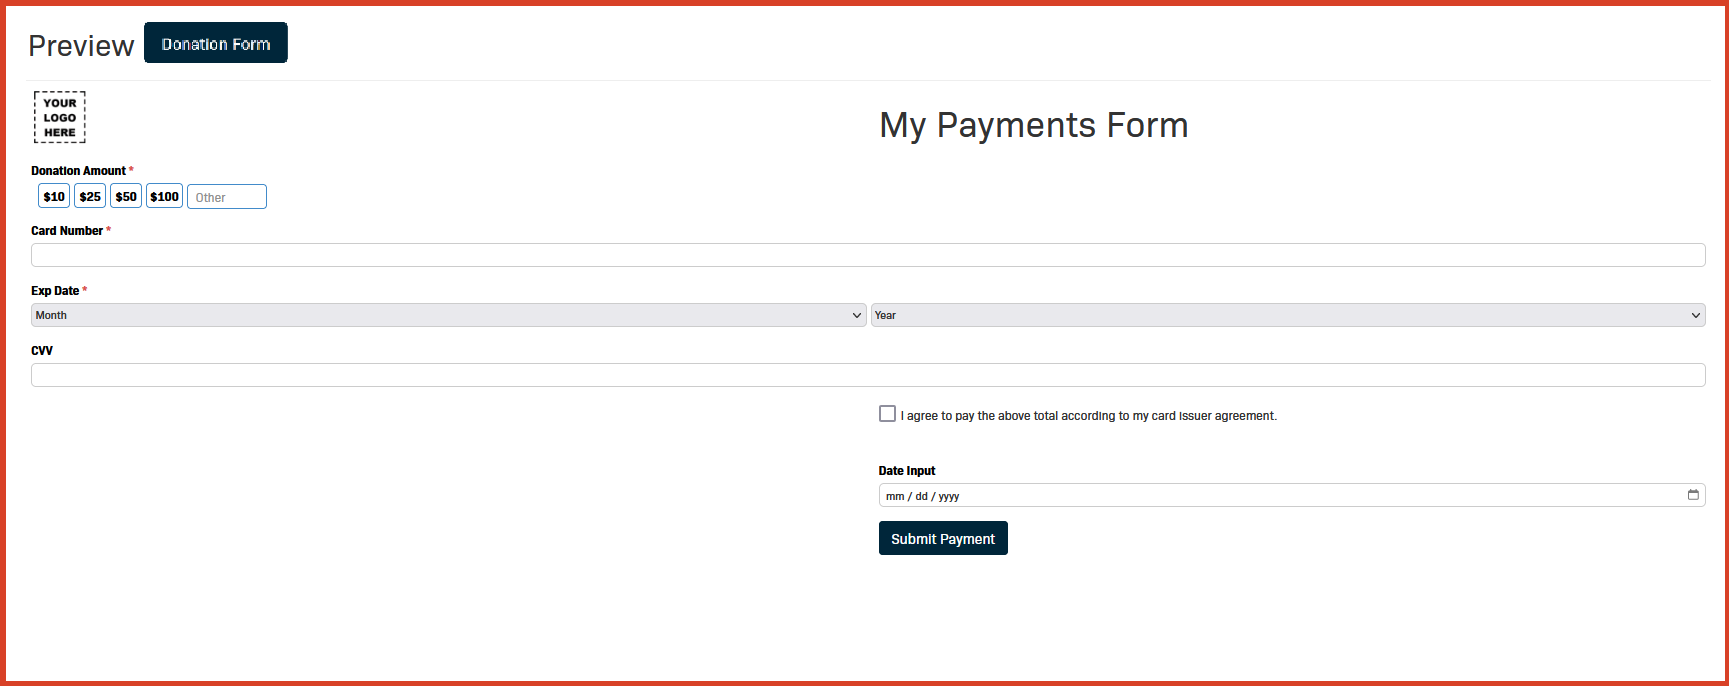
- Click the appropriate button to select the Template Type you would like to use.|
NOTE: See the Form Template Examples section for screenshots of the form options.

- Click the link to open the Location where you want to create a Hosted Payments Page.

- Click Settings.

- Select Hosted Payment Pages in the drop-down menu.

- Any existing Hosted Payment Pages will appear here.

- Click the Create Hosted Payment Page button to create a new Page.

- Click the appropriate button to select the Template Type you would like to use.|
NOTE: See the Form Template Examples section for screenshots of the form options.
Form Template Examples
Form Settings
- Click to expand the Form Settings menu.

- REQUIRED STEP: Enter a Title for the new Payments Page.

- Enter a valid Approval Redirect URL.
NOTE: This is a secure website the system should direct your customers to if their payment has been approved.

- Enter a valid Decline Redirect URL.
NOTE: This is a secure website the system should direct your customers to if their payment has been declined.
- Enter the duration of the Redirect Delay (in seconds).
NOTE: This value should be a whole number (no decimals).
- Enter the Min Payment Amount (USD)you would like to accept via your Payments Page in dollars and cents.
NOTE: It is strongly recommended to enter an amount here to help prevent fraudulent actors from using your Page for credit card testing.

Enter the Max Payment Amount (USD) you would like to accept through your Payments Page in dollars and cents.
NOTE: It is strongly recommended to set your Max Payment Amount to be well within your approved Monthly Volume Limits.
If you would like to apply a stylesheet to your Payments Page you can enter your Stylesheet URL.

If you only want your customers to see the required fields on your Payment Page, select the Hide Optional Fields checkbox.

- Use the fields and options in the bottom panel to customize the layout and appearance of your Hosted Payments Page.

- The Header tab will be open to the default header layout.

- Drag items from the Custom Fields menu and drop them into the preview pane to add additional fields to your Page's header.

- Use the Delete, Settings, and View buttons to change or remove elements from your Page header.

- Click the Body tab to open the default body layout.

- Drag items from the Preset or Custom Fields menu and drop them into the preview pane to add additional fields to your Page's body.

- Use the Delete, Settings, and View buttons to change or remove elements from your Page body.

- Click the Footer tab to open the default Footer layout.

- Drag items from the Custom Fields menu and drop them into the preview pane to add additional fields to your Page's footer.

- Use the Delete, Settings, and View buttons to change or remove elements from your Page footer.

- Click Save when you are finished.

- The Form Settings for your new Hosted Payments Page will appear on the start page.

Customize Your Hosted Payment Page
Start Using Your Hosted Payment Page
- Click the Actions drop-down button.

- Click the Use button to see the options for using your new Payments Page.

How to Use Your Hosted Payments Page
- Option one is to use the Copy button in the As URL frame to copy the Page's URL into an email, statement document, etc.

- Option two is to add a Payment Button to your existing website.

- Option three is to embed your Payments Page into your application using our Advanced Development Tools.
NOTE: You can find additional information by clicking the Documentation link located just above the custom JSON examples.
Finding Your Hosted Payments Page ID and Encryption Key
Select Credit Card (if your integration requires an ACH specific ID and Encryption Key then select ACH)
Click the Actions drop-down button.

Click the Use button to see the options for using your new Payments Page.

Your Encryption Key and your Hosted Payment Page ID are found under Advanced.


